SR250 Side Cover Development
- Jake Snowdon
- Jun 6, 2017
- 5 min read
The development of the special side covers on the Jadus promotional bike was an awesome project within the build project itself, and it easily took the longest time and caused the most head scratching of all the parts.
The motivation and inspiration came from the desire to 'design' a bike rather than 'build' one - making the bike look a little more complete and closer to factory made, but at the same time, obviously aftermarket and tweaked. This meant steering away from from the cliche clean triangle look that is so sought after. Not that I don't like that style, I do, but I wanted to challenge myself with a design project and test if it was possible to make a cool looking custom with side covers. My suspicions were already pointing to yes, based on some inspiration from this awesome SR400 build I saw a couple years back on BikeExif - by Palhegyi Design (see below). Up until this point, I had never seen a customised bike look so good with side covers, so this set the benchmark for me. Big cred to Jeff Palhegyi for the inspiration.
Jeff Palhegyis SR400 build.
From the outset, the intention was to design the covers so that they could be used on the stock bike and fit the Jadus seat better - in cases where customers did not want to remove the stock air box and battery box, or simply, they like the look of side covers - painted to match the tank for example. This would prove to be very challenging and also force the air box side cover to be a little bulkier than desired.
To get things started, I sent the stock SR250 Classic side covers (from the Jadus test mule 2.0) away to get 3D scanned - cheers to Robert Ajdén of 3d-scanning.se. This gave me a good start for remodelling them in CAD to the design I wanted. It also provided the exact mounting points and positions required to fit the stock mounts.

Stock SR250 Classic side covers packed up and shipped off for 3D scanning.
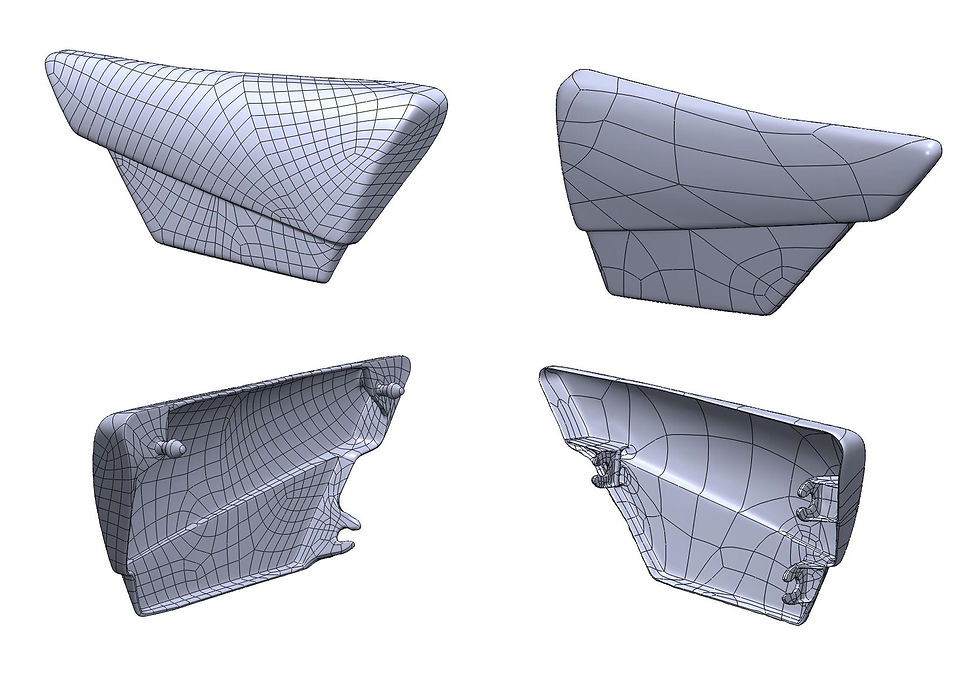
3D Step files back from the scanning process, ready for remodelling.
Originally I thought the design was just going to be flat and plain, similar to the stock SR250 Special ones, or even the stock SR400 ones. But with a better fit to the frame and the Jadus seat. However once I printed the first prototype, I realised I could do better as a designer and that the covers needed a distinguishing feature. So it was over to the drawing board!

Stock SR500 side covers - simple, clean, sleek.
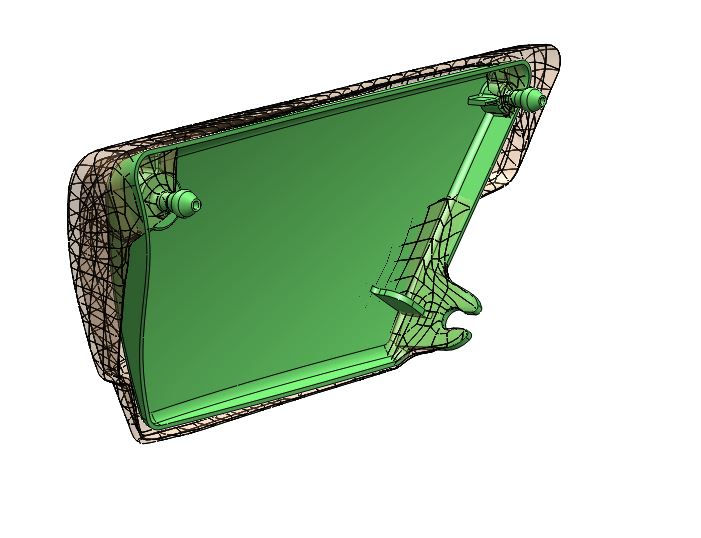

Remodelled side covers overlaid on top of the stock ones - with transparency applied.

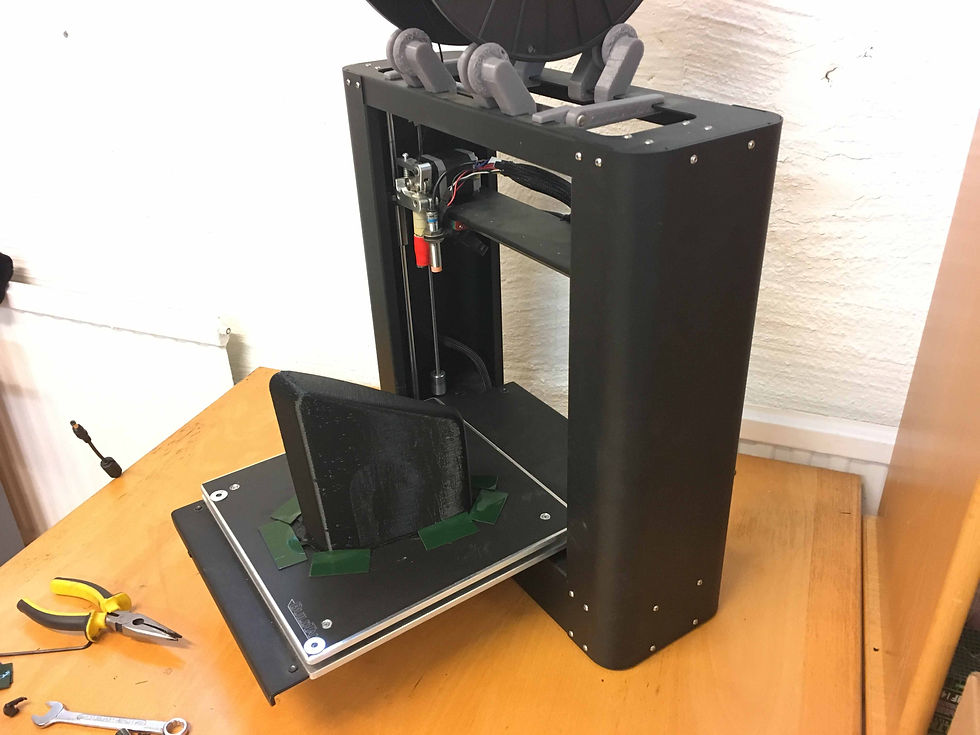
First prototype off the Jadus Printrbot 3D printer. The last time the side cover prototypes would be printed in one piece - just not quite a large enough bed.

First prototype in place. The realisation that it was too plain and I could do better as a designer.
I have never been a natural sketcher and probably never will be unless I put in some serious hours. But I can draw well enough for me to put my thoughts down and have been able to do so at a level good enough for colleagues in my various job roles to understand. Anyway, once an overlay was used, somewhat of a cheat sheet, some different ideas were sketched up. After trying a lot of different variations, the design was narrowed down to have this one dynamic panel indent feature.
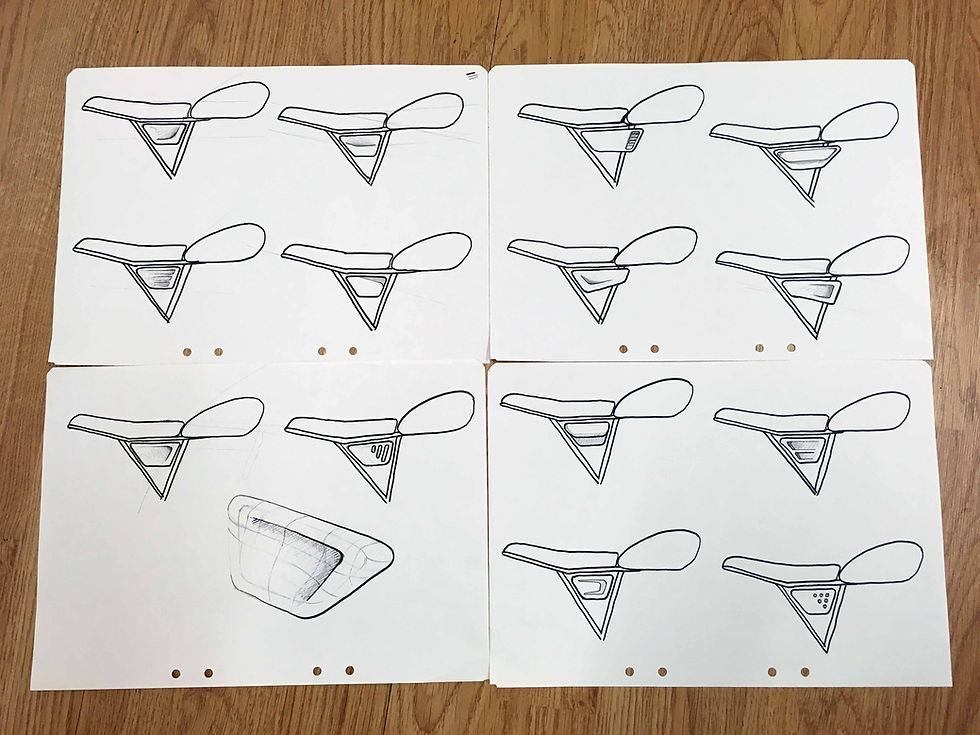
A few different concepts for side cover detail direction.
This design direction was then tweaked and prototyped (3D printed) 7 times to dial it in - changing the position, depth and transitions of the sweep each time, until a satisfactory result was achieved. The sweep detail actually changed direction at some point as well, so now it lines up with the flow of the tank. I even tried some old photoshop rendering techniques to understand the curve better before modelling it. Again, this is not my strong point, but it did help the vision a little. Throughout the development process, product design modelling techniques were employed - with consideration to curvature and surface transitions - which I usually sketch up roughly first - you can see below my thought process for my 3D modelling approach - which surfaces to build, trim, stitch, where to have tangency or curvature transitions etc. This is used a lot in automotive design and is called A-Class surfacing. I am a real amateur when it comes to this, but I do my best.


Some rendered side cover concepts.

3D modelling approach - how to best achieve the sweep feature so it is both distinctive and blends in nicely.

First surface creation - a couple of profile curves and a couple of guide curves.

I didn't love the way the different curves and transitions of the seat and rear of the tank flowed with the feature, so I decided to change it's direction.

A couple of sketches to make sure I was on the right path.
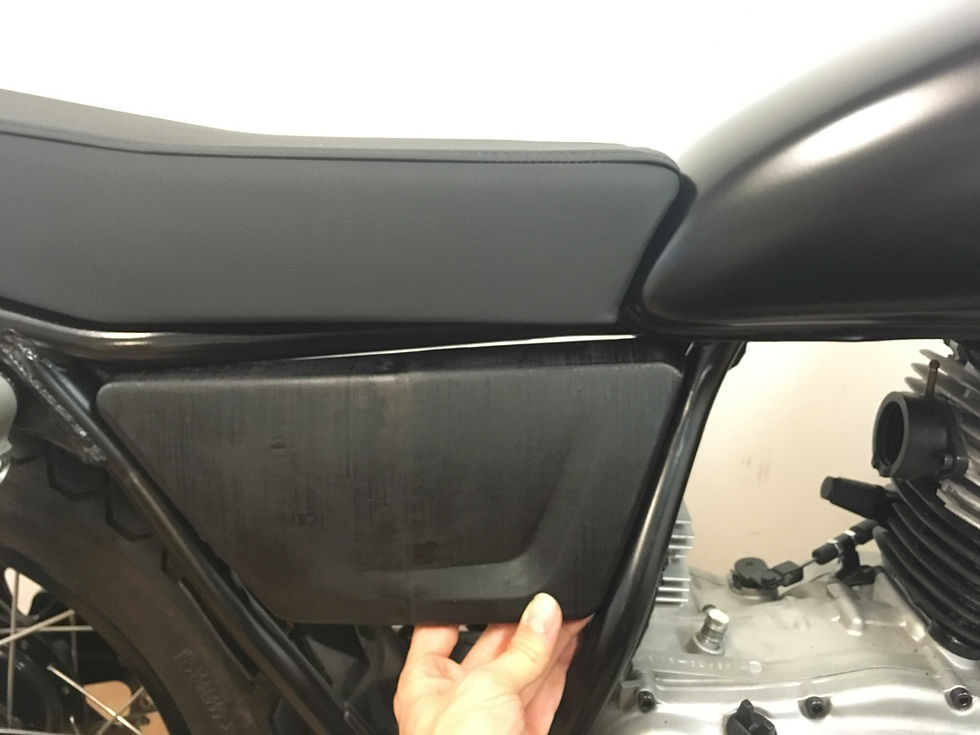
Thats more like it, but still not quite right... Enter the tweak phase.


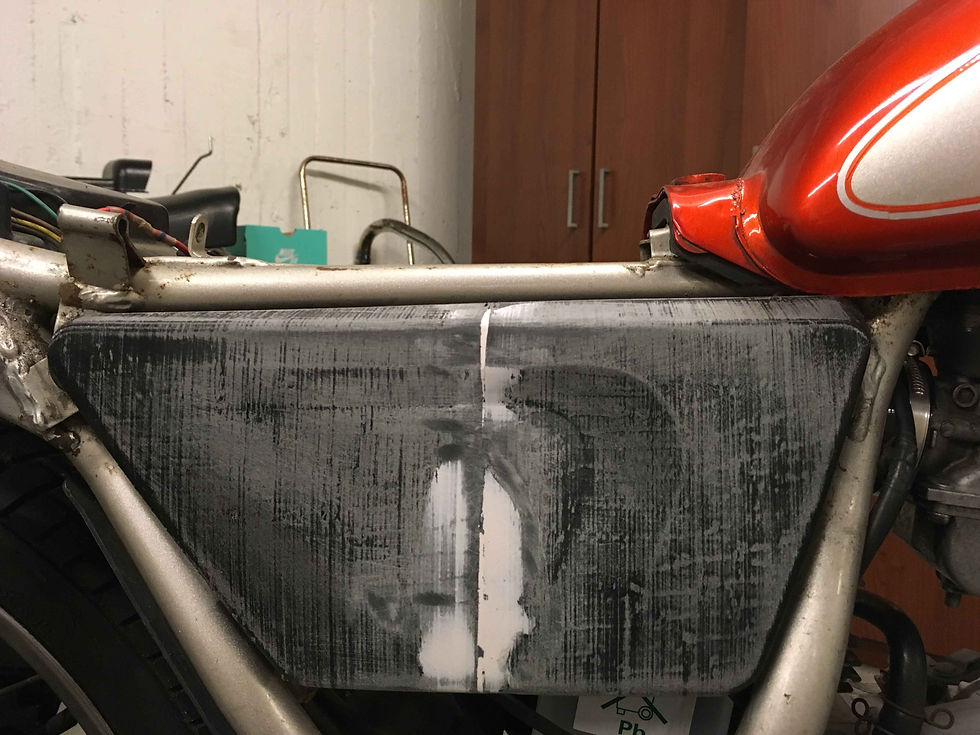
This was the printing and joining process used for the rest of the prototypes.


Test fitting the final right side cover.
First I tweaked the right side cover until it had the right look and fit - modifying the trim surfaces and mounting positions in small increments to get the right fit and nice 'door gaps' with the frame front and rear. Then I moved onto the left side cover, which was a bit more challenging - as mentioned to clear the bulky air box.
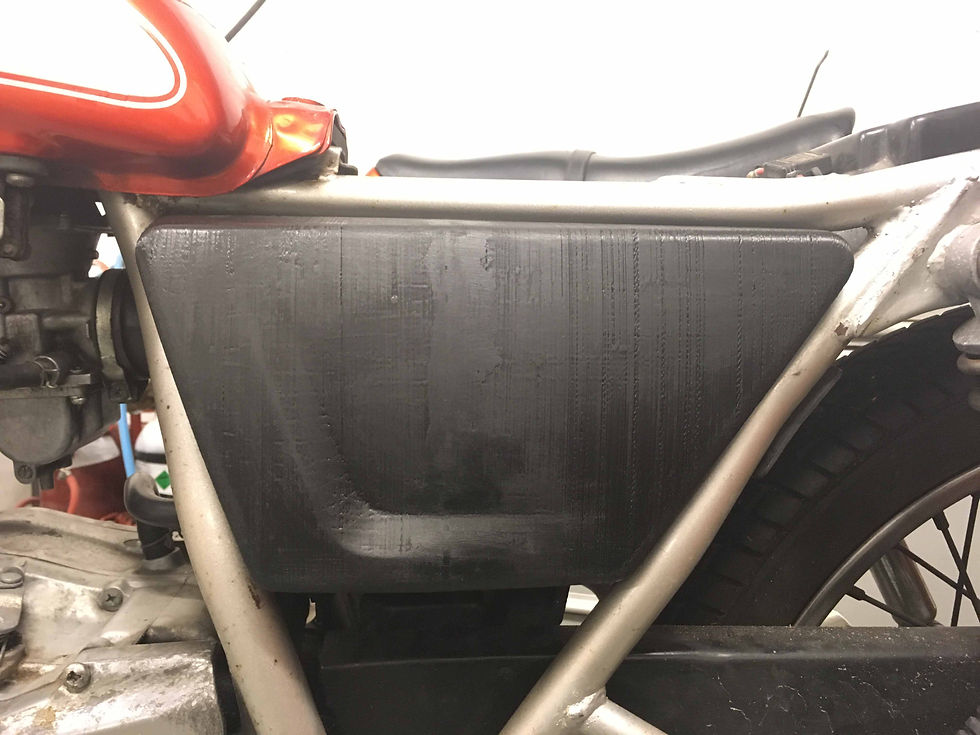

Tricky frame curvature to match with freeform curves in CAD.

A lot of filler primer!
Once a final design was settled on, the long tedious process of prepping FDM 3D printed parts for paint began. This means smoothing out all of the 0.3mm steps from the print layers and filling any minute flaws in the surfaces. I think I applied car body filler two times and primer filler/putty about four times before getting a satisfactory result ready for top coat.
At this point I also wanted to decide on what decal I would go with. I tested a couple of different ideas, some with the Jadus logo, others with the more contemporary and even modern 'SR'. Running with the factory-ish theme, I decided it was too much with a Jadus logo on the side, so I settled for a nice version of the SR logo.

Side cover decal concepts.
Then rather than just making some one offs, I decided to get a batch made, in case others also like this classic logo.

SR side decal vinyl cuts.
I played a bit with the size, proportions and position of it as well before ordering. But the result was about right.
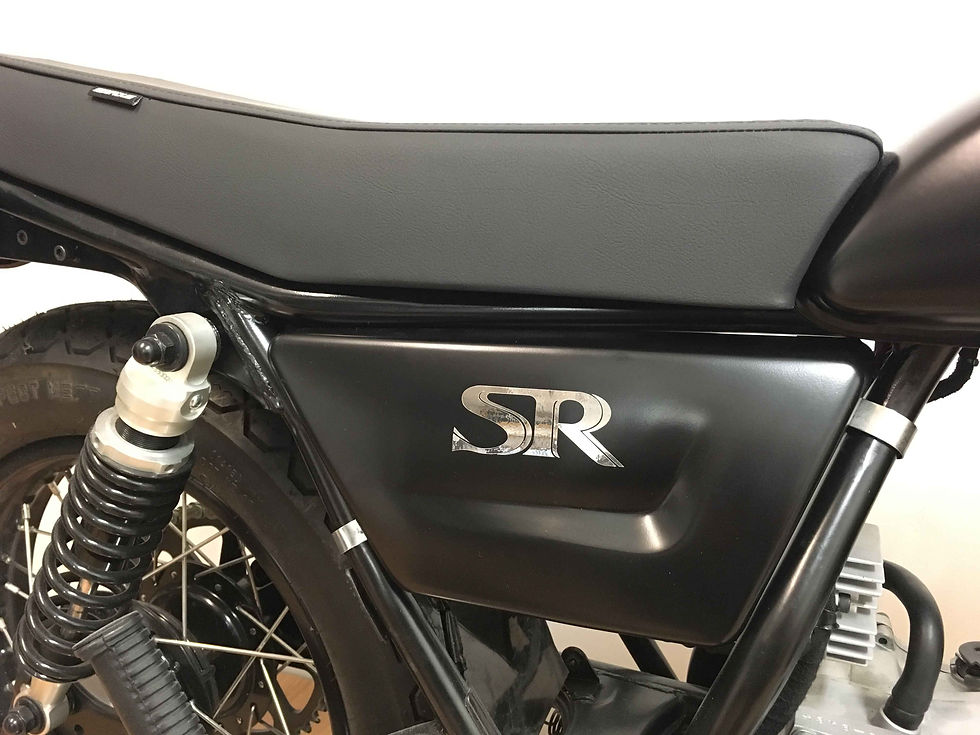
Final design in position.
Below is just a few of the prototypes that were made along the way. You can see I have also sketched on some of them to get a feel for the sweep position and even the size and placement of the SR logo. Some would call this many prototypes excessive and unnecessary. This might be true, if I had nailed the design earlier, then yes, I could have avoided this many prototypes, but I like this process of product development, where things are tweaked until perfect. There are not many jobs I have had where you get this kind of luxury where you get several shots at the design before you have to put the foot down and go into production with what you have - because of either time or budget constraints. But if you are doing things for yourself, why not go all in and get it spot on. A final design in my opinion is never 'final' though - a bit like an artists painting I guess, never complete.

A pictorial summary of the journey...
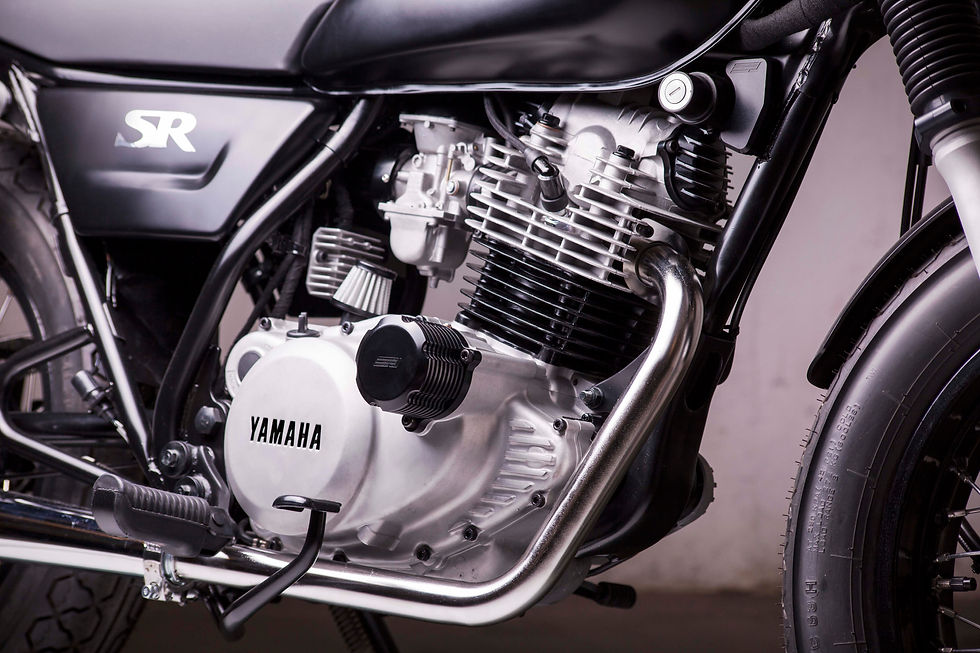
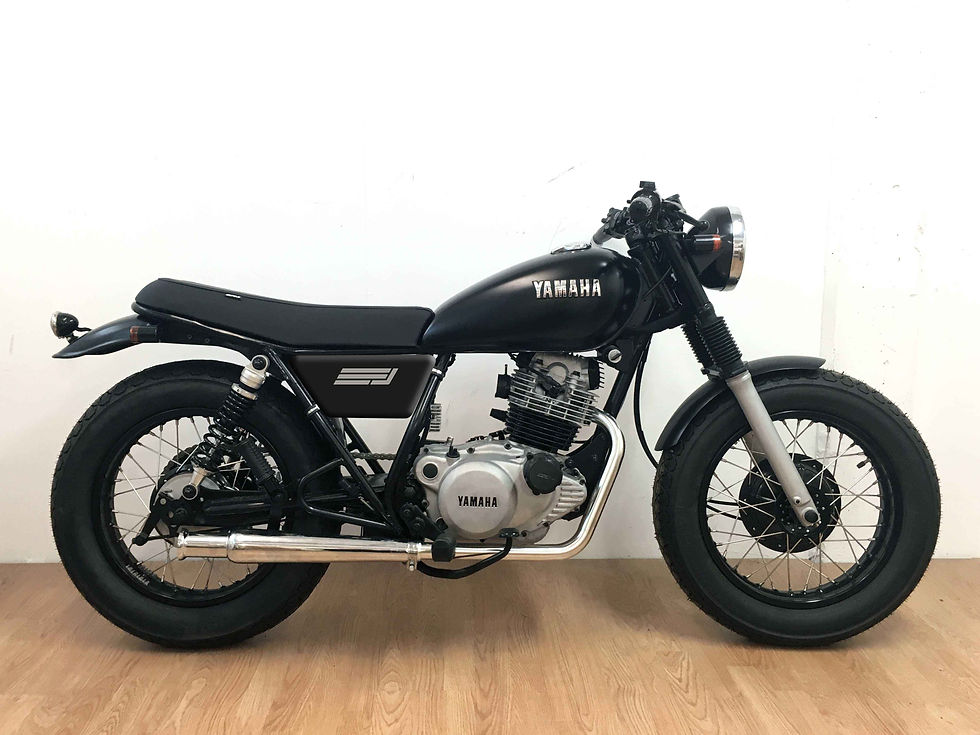
Things turned out pretty ok though!


Comments